How to make a chalkboard

The chalkboard trend has been going strong for many years and judging by all the chalkboards that keep popping up in design magazines and TV shows, it’s here to stay a while longer. So, when I rediscovered an old picture frame I had bought at a garage sale years ago, guess what I did with it? Oui, I made a chalkboard! You’ll love this chalkboard DIY because it’s quick and easy and doesn’t involve any painting.
In the past, for a project like this I would have bought chalkboard paint to paint a piece of plywood, give it two coats of paint, let dry then insert it into a frame. Fast forward to today, where I found an easier and faster way to make my own stylish blackboard.
Nowadays you can buy sheets of chalkboard at big box stores that can be cut to whatever size you need. Since I couldn’t find any at my local DIY store, I used this inexpensive chalkboard I bought at Staples and it did the trick.
First, we removed the oak frame using a small hammer to tap outwards around the frame until it started to separate from the board.
The chalkboard was too long for the frame, so we measured the inside of the frame and marked the measurements on the back of the chalkboard. As they say, measure twice and cut once to avoid ending up with a chalkboard that is too small for the frame.
Tip: Once you’ve marked your measurements, draw zigzags on the parts that you’ll be cutting to avoid any confusion when cutting with the saw.
Using a saw, we (Mike) cut the chalkboard. Warning: this part can be messy and you’ll end up with a bit of sawdust on your furniture, so you might want to put away some things or at least cover them up.
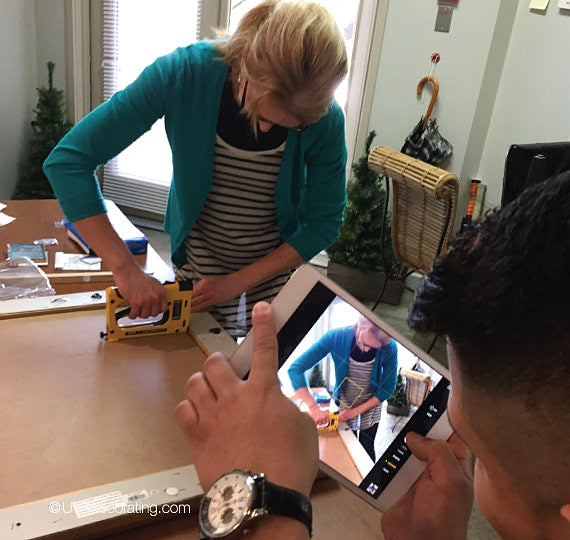
Insert the chalkboard into the frame and secure it using a point driver. It’s easy to use and does a great job of finishing the back of frames. Since I repurpose a lot of frames, the point driver makes it easy to swap images in and out of frames.

Note: If you don’t have access to a point driver, an alternative method for securing the board is to use framing clips, sometimes called retaining clips. Look for them at craft and hardware stores.
I hung my finished chalkboard on my office door and headed out for lunch! Back in 20 minutes!
For more chalkboard inspiration, head to our Pinterest board, where you’ll find many pictures to give you some more ideas.
Tip: If you want a squeaky clean chalkboard, follow these easy steps.
Do you have any tips to share on how to make a chalkboard?

Liette Tousignant
Co-Founder of Under The Roof Decorating
SHARE:


