How to hang three picture frames in different arrangements

Hanging multiple frames together to decorate your space creates a larger focal point for your room and tells an interesting story with your art. We’ll show you three different arrangements you can try in your own space.
So why three frames? You may have heard about the rule of three in decorating, which is based on the observation that odd numbers of objects tend to be more appealing and memorable than an even number of items. Frames hung in odd numbers trigger the eye to keep moving so we see all the images.
Let’s get started!
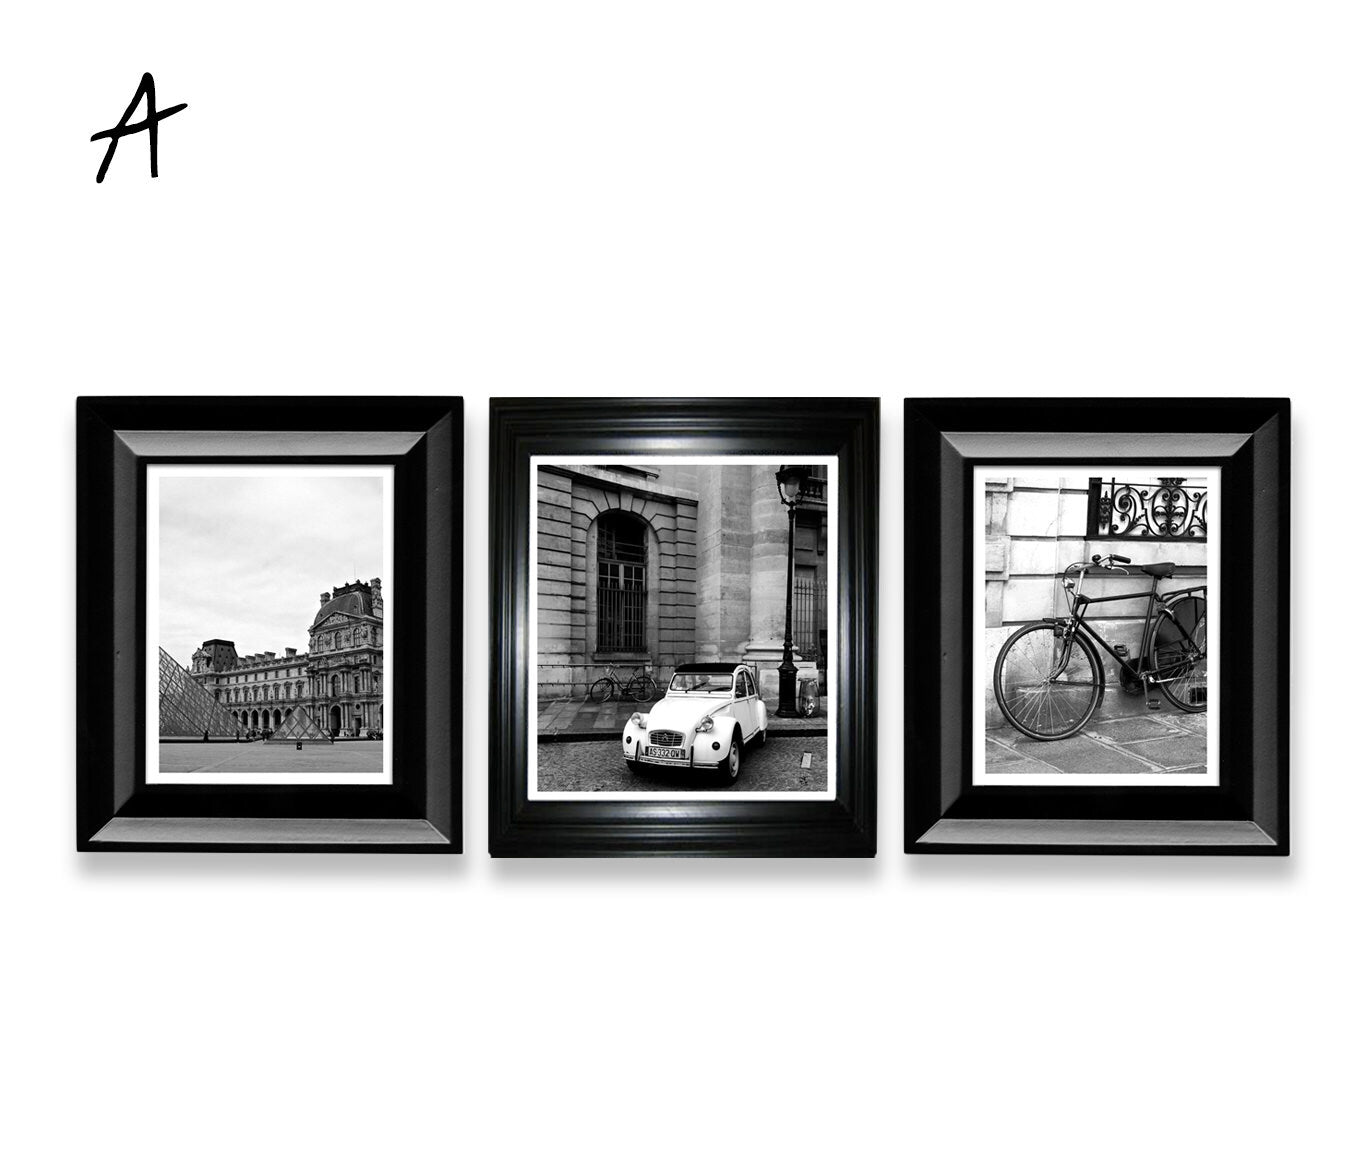
Style A – horizontal layout
This grouping is very versatile. It looks great on its own or hanging above a piece of furniture. Leave equal space between frames to get a balanced look. It can be a pain to get the spacing between frames exact in a gallery feature, so we’ve designed a product called SpacingStrips™ that makes it easy to mark where the next frame should hang.
To get your art up quickly, hang the middle picture first, then use the SpacingStrips on either side of the frame to mark out identical space between the frames. When you are done hanging the other two frames, the low tack adhesive on SpacingStrips removes cleanly.

Style B – vertical layout
This style works great on a tall narrow wall or in between windows. It has the effect of making a ceiling look higher, so if you want to add some visual height to a room, then this is a good option for you to try. Create a column of artwork with identical space between the frames to give it balance. Make sure to position your favorite piece in the middle as it will be noticed first.
We’ve designed the Hang & Level™ picture hanging tool to mark exactly where to put the nail, so you can eliminate mistake holes. You can also visually hang your items so it’s quick and easy to create your gallery. To hang the vertical style, start at the bottom and work your way up so the handle of Hang & Level will not interfere with the rest of the pictures.

Style C – creative layout
Your art layout should reflect your own style. You don’t have to group pictures in a line. If you hang the items closely together, say 2-3 inches apart, you can create a compact triangular visual that looks great on a small square wall. When using Hang & Level with this orientation, hang the bottom item first, so the handle of the Hang & Level will not interfere with the picture above. Next, hang the top item followed by the frame on the left.
Try out the three options in your own space, and it will become clear which one works best for you. Check out this article if you want to know how to keep picture frames straight.
Do you have any other decorating questions? Email us at questions@utrdecorating.com and we’ll do our best to help you Create the home you love™
- The UTR Team


SHARE:

frank On
do you sell something that allows three verticle picture frames to be hung evenly spaced