Turn Your Vacation Photos Into Artwork For Your Walls

With our phones at our sides every moment of a day, we're guilty of taking a lot of photos - some of them far better than others. ie. what we ate today vs. photos of our loved ones. But what happens to those precious family vacation photos? Most of them are forgotten about unless someone asks about our trip, or they're lost to the abyss of our never-ending camera roll.
But that's no way to remember the good times! The best way to retain those fond memories are by printing and framing them. Plus, having them in your home allows you to show them off for everyone to see. Our guests always compliment how beautiful our gallery wall looks and we can't help but smile ear to ear.
Just look how crisp our photos look on white walls!

Usually you would buy frames to fit the size of your photos. But since we already had five large IKEA frames we wanted to repurpose, we had to make our photos fit in the frames. It required a bit of arts and crafts, but it was all worth it. Here’s how we did it:
The challenge
The mat openings were too big for the size of our photos, so we tried printing larger sized photos. But we realized that the bigger the pictures, the blurrier the quality. We definitely didn't want to have grainy photos, so we used black construction paper as a border to make up for the size of the pictures.

We used black construction paper for the background, cut each piece one inch (all around) larger than the size of my photos.


We then sprayed adhesive glue on the back of each of the photos and centered them on the black paper. Pro tip: don’t spray them all at once – the glue will dry up. Do one at a time.


Lining up the photos with mats
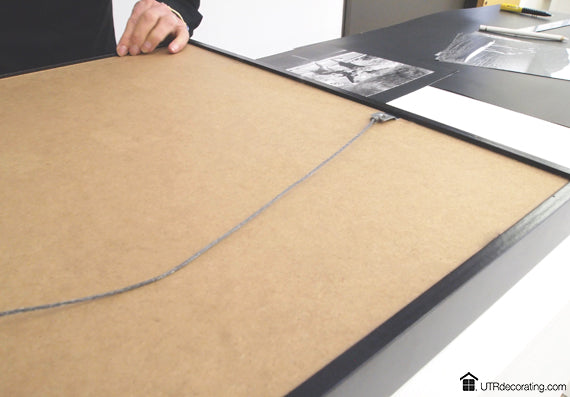
If you’ve ever tried to line up your photos so that the mat frames the exact spot you want, you know how tricky that can be. Place a piece of tape on the back of the construction paper with the sticky part facing up, gently place the mat over the surface of the image, and press on the top of the mat for the tape to stick to the mat. Confused? See how it’s done here.
If you’re familiar with IKEA’s Ribba frames, you know that the metal tabs on the back often fall out. Since we frame lots of stuff, we bought a point driver to insert new tabs to keep the back of frames in place. And it works like a charm! It’s the yellow tool below.


Since our frames are identical, we decided to hang them in a perfect row to beautifully showcase each photo. If the thought of hanging this many frames makes you nervous, don’t worry! It’s easier than you think. You can see how we hung each frame here.
We often get asked what to hang on walls. As you can see, framing and displaying your own photos is a great way to add personality to your space without having to spend much money. So go ahead, and turn your holiday photos into pieces of art.
What’s hanging on your walls? Leave a comment in the box below!
Thanks for hanging out with us!
SHARE:


