DIY Christmas décor: easy holiday wall art

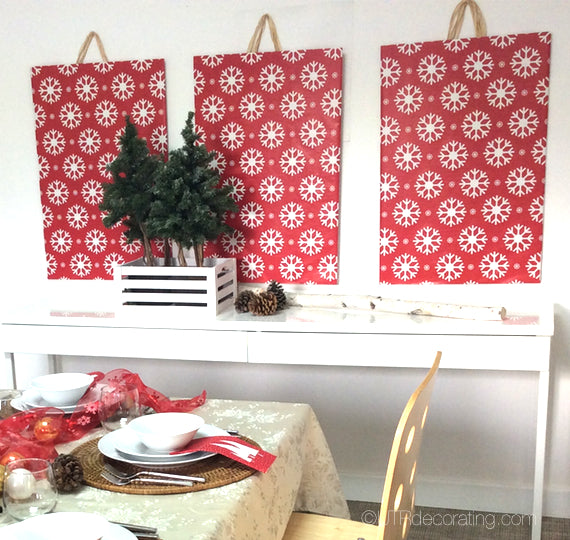
This year at our office instead of going out to a restaurant to celebrate the holidays we decided to have a potluck lunch. Since our boardroom was the perfect place to have our feast, I decided to spruce up the white walls with some very cool wall art using red and white wrapping paper. Seriously, this DIY took very little time to do, barely cost anything, and delivered a huge “wow” factor. The wrapped boards instantly transformed our workspace into a bright and cheerful dining room ready for a hungry crowd.
Here’s what you’ll need:
- Three foam boards or poster boards (about 20″ x 30″). The color doesn’t matter since the boards will be wrapped. I bought mine at Staples and they came in a pack of three.
- Wrapping paper with a holiday theme. I picked red and white since it’s Christmas-y and snowflakes because it’s winter.
- Clear tape
- Scissors
- Raffia to hang the boards with, which also adds a touch of nature to the wall art.
- Clear pushpins to hang your boards. They won’t show as much as colored ones would.
Cut pieces of wrapping paper a few inches larger all around than the boards. Wrap the first board. Don’t worry about how it looks on the back since you won’t see it.
Tape the paper in place, wrappping the top corners nicely since they’ll be show when hanging. If your paper has a linear pattern, check the front before taping to ensure you’re happy with the alignment.
Repeat the same steps for the three boards.
Cut equal pieces of Raffia to hang the boards. Start with longer pieces and cut/trim as needed. Tape them in the center of each board to make sure the boards hang straight once on the wall. With that said, don’t fuss too much over this step as you’ll be able to adjust the height with the pushpins if you decide to hang them.
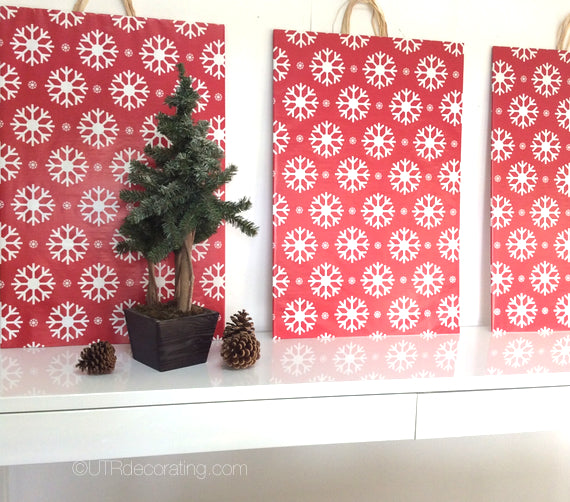
Ta da! Here are the boards resting on the table. This look works really well if you don’t want to bother hanging them and/or making holes in your walls.
Here, we hung the boards because we wanted to use the entire table to set our food platters on. We used clear pushpins to hang them, which I didn’t mind since they make very tiny little holes in the walls.
If I were to do this wall art project all over again, I would cover the back of the boards with a New Year’s themed wrapping paper to stretch the use of the boards all the way through to January. This would add very little time or cost to the project and would make such wonderful art to use a home for a house party. I was so inspired by this easy DIY project that I’m already planning to do something similar using beautiful fabric for the spring. Stay tuned.
Is this a DIY project you would do?

Liette Tousignant
I’m passionate about picture hanging and decorating (and I’m also the Founder of Under The Roof Decorating)
SHARE:


