Decorate your walls with black and white photos

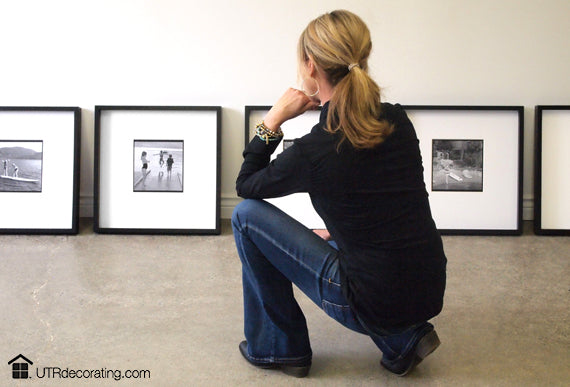
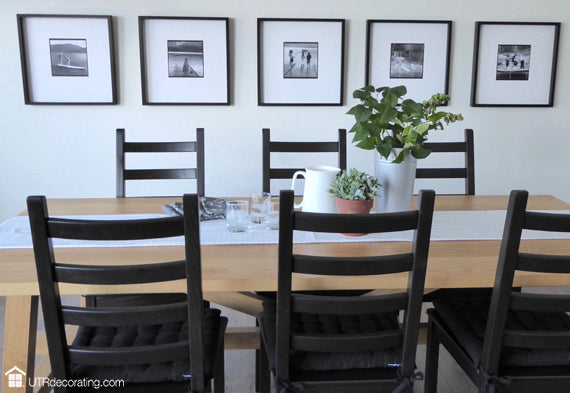
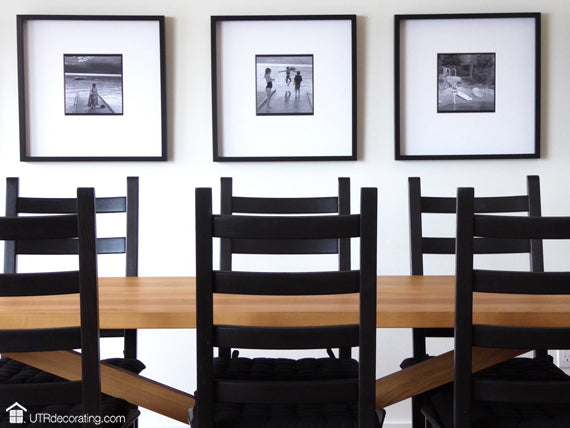
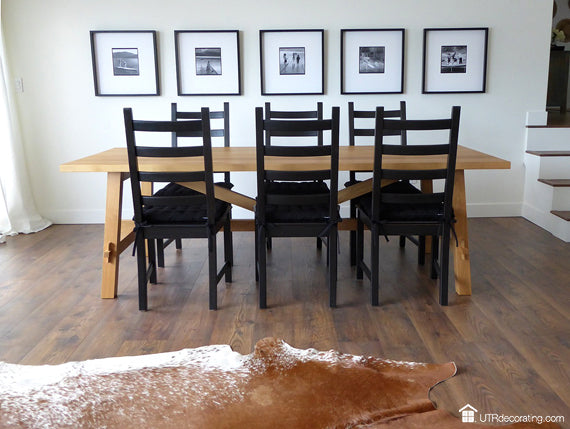
I love black and white, I love symmetry and I love large frames so I decided to combine those three loves to create a stylish gallery wall. I’ve displayed favorite pictures of my kids to create a unique storyboard on the dining room wall of our cottage. The black frames look stunning against the white background and the playful photos make a great conversation piece.
I bought these five IKEA frames seven years ago and had vintage prints in them for all those years. Although they looked gorgeous, I was ready for a change. I took the prints out and saved them as I’m sure I’ll come up with another DIY project where I’ll reuse them.

I printed photos of my kids in black and white and inserted them in the frames. I chose black and white over color to keep the walls and art neutral and added color to the space with toss cushions, throws, area rugs, books, plants and small accessories.

Next, I decided on the order in which to display the frames. I placed my favourite photo in the middle to create a focal point for the display and placed the other photos with similar level of “busy-ness” on either side of the center one.
After placing my dining room table and chairs exactly where I wanted, I started hanging my frames. As you can see in this photo, there’s more white wall space on the left than on the right. I couldn’t centre my table on the wall because it would have been too close to the patio located on the left. Therefore I centered my wall arrangement with my table and didn’t spread the frames all over the wall for the sake of filling the entire wall.
How I hung the frames: If the thought of hanging this many frames makes you nervous, don’t worry it’s easier than you think. Here’s what I did:
I hung the middle frame first and left 1 1/2 inch above the top of the chair and bottom of the frame to avoid bumping into the frames.
When hanging pictures in a dining room, judge the hanging height for your pieces from a sitting position. I like to sit across from where I want to hang my pieces and have someone (most of the time my husband) move the art up and down the wall until I find the perfect spot where I can enjoy the art without having to look way up.
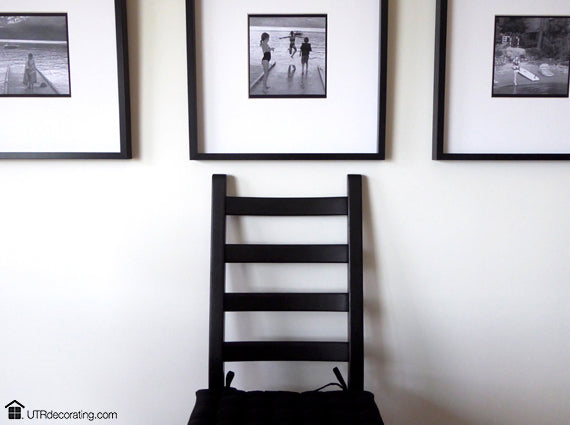
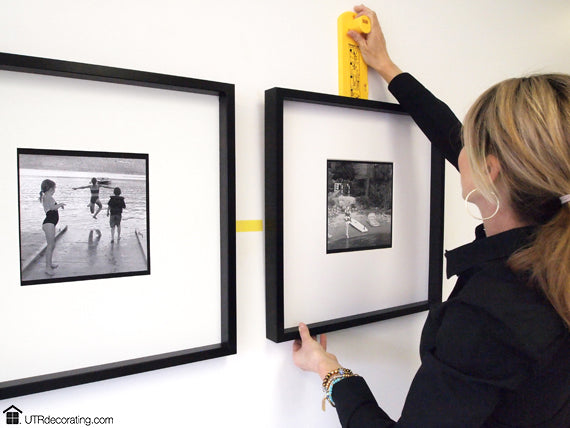
To determine the distance between each frame, I asked my partner to hold a frame next to the one already hung and to hold it anywhere from 4 inches and more. The perfect spacing turned out to be 6 inches between each frame. A smaller spacing made the frames look cramped on the large wall and larger then 6 inches looked like we were trying to fill the wall. The total width of my display ended up being a bit wider than the total width of my table.
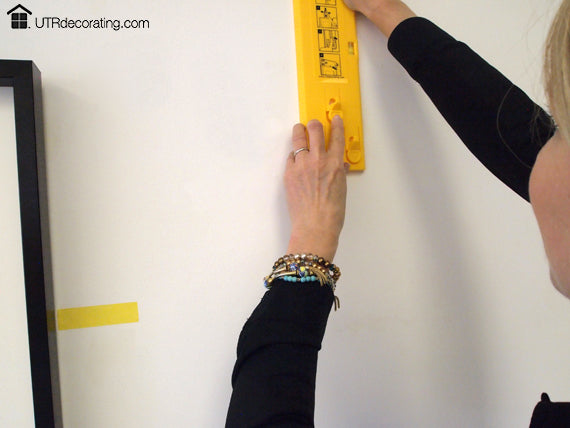
I used Hang and Level to hang each frame, it’s truly the fastest and easiest way to hang pictures without making a mess of your walls. After hanging the middle picture, I hung the frames on the right then on the left. It doesn’t matter which side you start with.
TIP: Cut pieces of painter’s tape like I did to evenly space your frames. It works like a charm. Mine were 6 inches long.
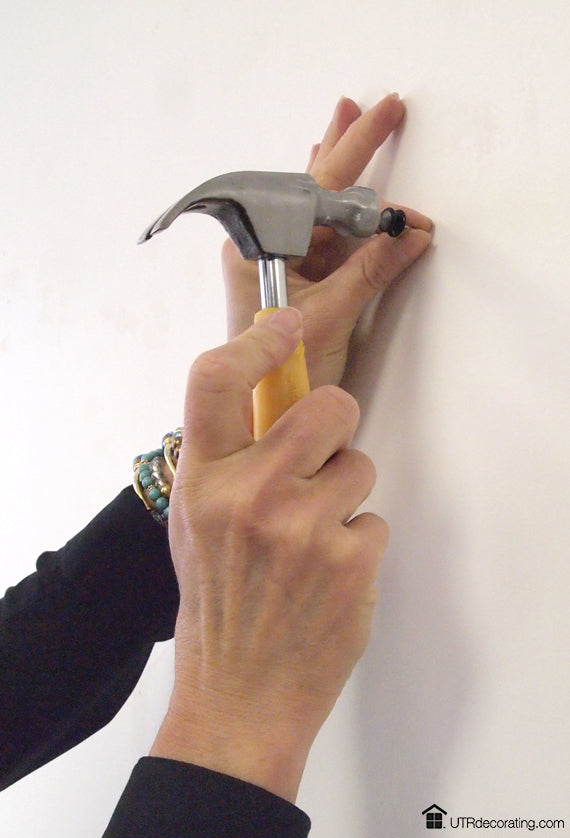
Hammer the nail in the mark made by the Hang & Level tool. I used our Déco Nails to hang my frames because their heads are specially designed to capture the picture wire and to prevent it from slipping off the nails.
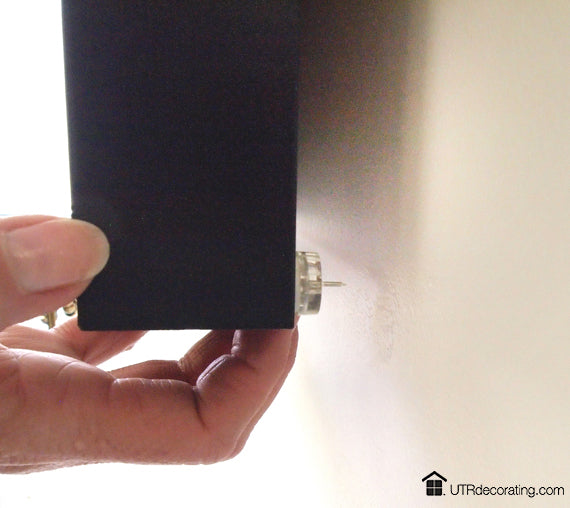
TIP: To prevent frames from shifting on the wall when hanging a grouping of pictures, stick Anchor Points to the bottom corners like I’ve done. They’ll keep your art nice and straight so you won’t have to re-level each frame as you add to your gallery. Trust me, it will make the job much easier.
Repeat the same steps to hang all your frames. Peel off the painter’s tape and you’re done.
I’ve had so many compliments on this gallery wall, it’s incredible. For this wall shape hanging the frames in a straight line was the right decision, they fill the large wall nicely and give the room a classy and fresh feel.
Friends and family also like that I used pictures of our kids to decorate the walls, it’s such a great way to inject personality into your décor. My husband and I never get tired of looking at the fun pictures of the kids and our now adult daughters get a kick of seeing pictures of themselves that were taken almost 16 years ago.
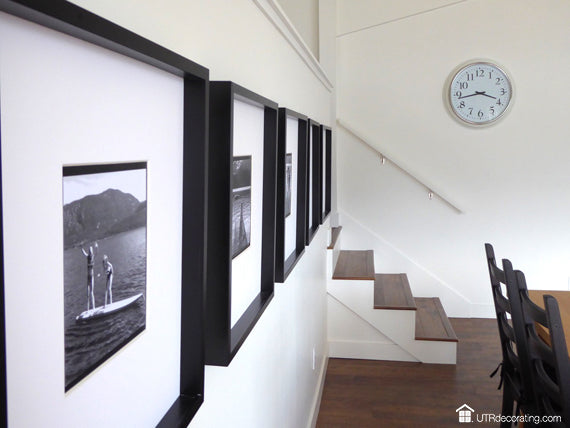
The gallery wall also looks quite stylish when viewed from the side. I love to see all the tops perfectly lined up, it satisfies the perfectionist soul in me. Now that this project is done, I’m ready for the next one. Stay tuned!
What’s your art display style? Symmetry or do you prefer when things are displayed in a more casual and relaxed way?
Make sure to sign up to receive our decor and design blog posts delivered straight to your inbox.
Thanks for dropping by! Talk to you soon.

Liette Tousignant
Co-Founder of Under The Roof Decorating
SHARE:


