How to hang pictures vertically

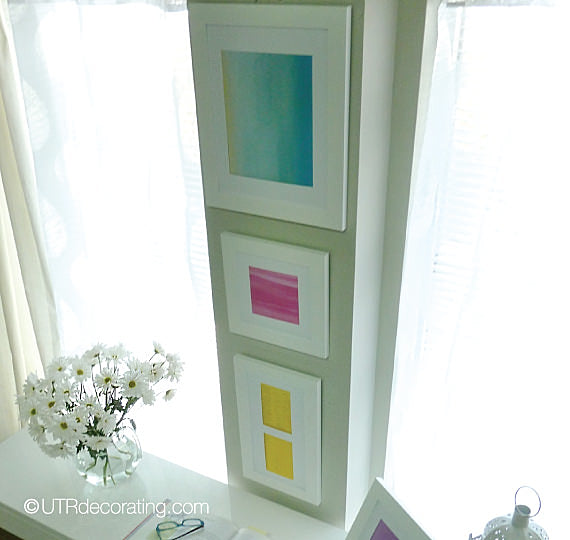
Sometimes the shape of a wall dictates what size of artwork you choose and how to hang it. For example, a wide horizontal wall is perfect to showcase a landscape piece or a group of smaller frames grouped together horizontally. On the other hand, a tall, skinny wall is the ideal spot to display a tall piece or a group of smaller pieces like we did here. Tall, skinny walls are usually found in between windows, in entranceways or on columns and are often left bare, but in this case, we were in a small office that needed a bit of color to brighten it for Spring.

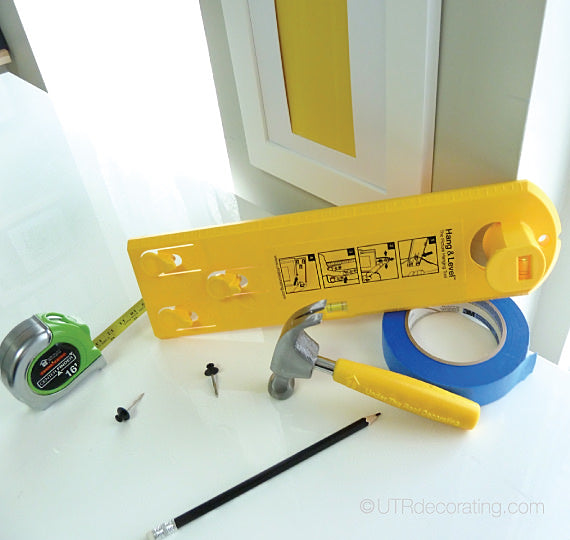
What you’ll need:
• Hang & Level
• Déco Hammer
• Déco Nails
• Measuring tape
• Painter’s tape or pencil
• Step stool
First, figure out the order in which to display your frames. Having someone hold the pieces for you while you step back to assess the look helps. Also, taking a picture of each arrangement will help you make a decision.
1. Start hanging your display from the bottom up. Find the middle of the column to center the first frame and find the right hanging spot using the Hang & Level. I hung the frame a couple of inches from my desk so that I’d have enough wall space to hang the other frames.
2 & 3. Hammer in the Déco Nail and hang your frame.
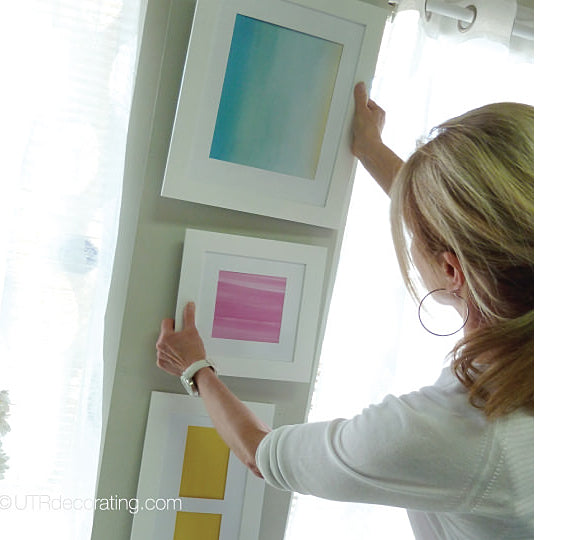
4. Center the second frame in relation to the first one and hang it. I left approximately three inches between the frames, which provides enough breathing room to comfortably view each piece.
5. To make sure I had the same spacing between each of the three frames, I cut a piece of painter’s tape the same length as a the space between the first two frames to help me find the exact right height to hang the last frame. As you can see, I hopped on a step tool to get to the top.
Tip: Once finished, add Anchor Points to the bottom corners of your frames to prevent them from moving.
Here’s a quick video demonstration of the steps:
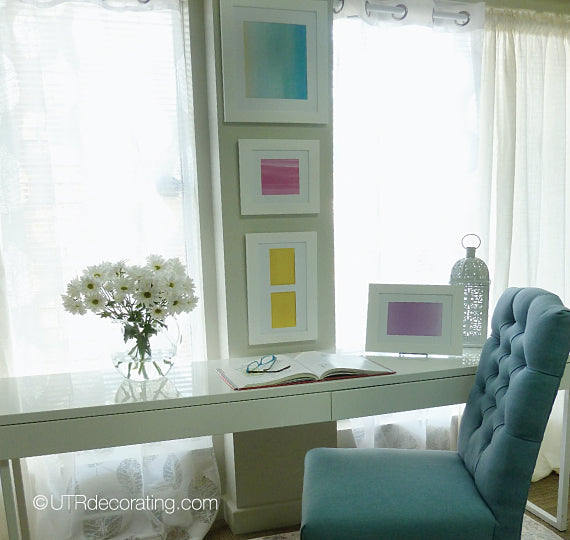
I displayed one extra frame on my desk to tie in the pastel theme together. Complete the look with fresh flowers to add a nice aroma and a touch of nature to the space and then accessorize with other soft colors to keep the ambience cheerful but yet relaxing. This DIY artwork is very versatile and since the pieces are abstract pastels, the frames can be hung in whatever direction you want and could easily be reused in another room of the house if you want to change things up.
One final tip: Hang art vertically to give the illusion of a higher ceiling.
What do you think of hanging art vertically? Is that something you would do?

Liette Tousignant
SHARE:


-The UTR Team On
Thanks for your question Mary. Yes, often when hanging a group of pictures we place the largest picture at the bottom. In this case, Liette tried out a number of different arrangements and simply decided that this was the order that she liked the best. As we always say, there is no single way to decorate your space, and whatever arrangement appeals the most to you is the way to go. Happy decorating! -The UTR Team
Mary Jo Barringer On
Why did you not hang the bigger weighty picture on the bottom ? Thanks