Big Box Store Wall Art

I like to think of hanging pictures as creating fashion for walls. Sometimes fashionable buys come from surprising places, so I wanted to share this simple yet elegant wall display I created using art from a big box store.
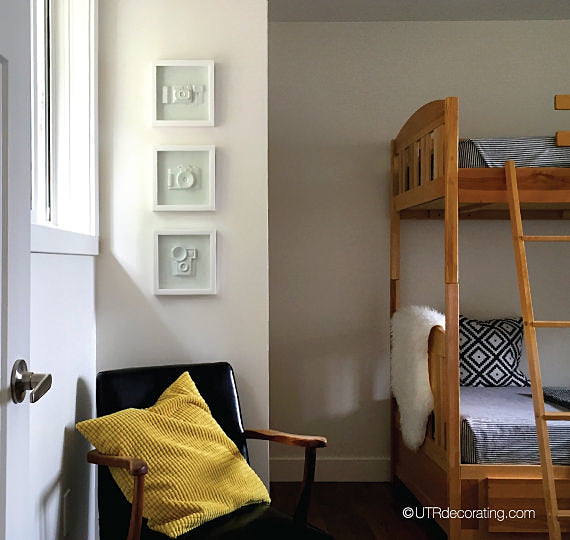
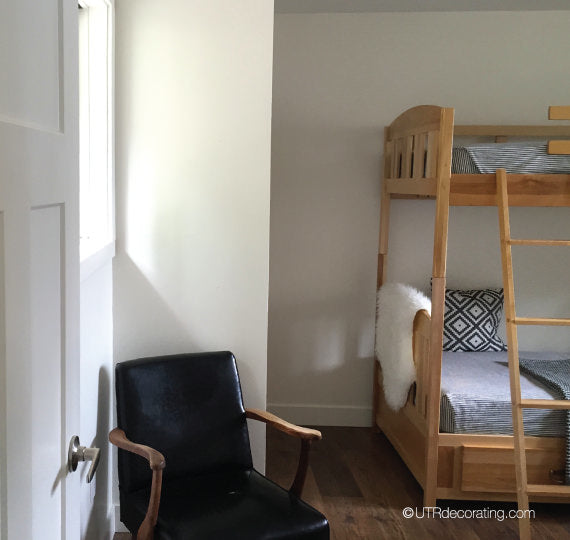
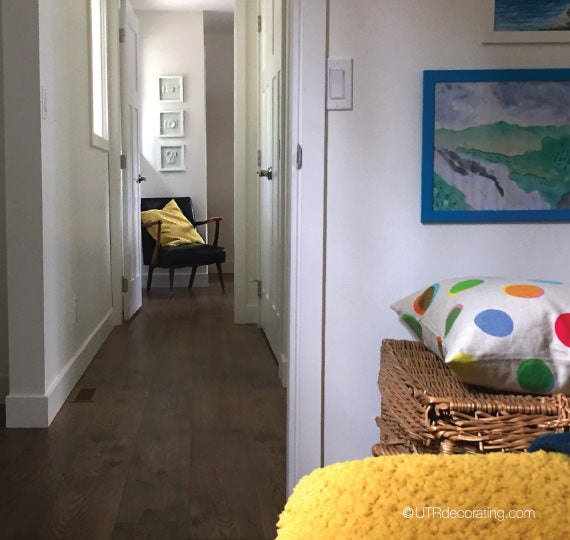
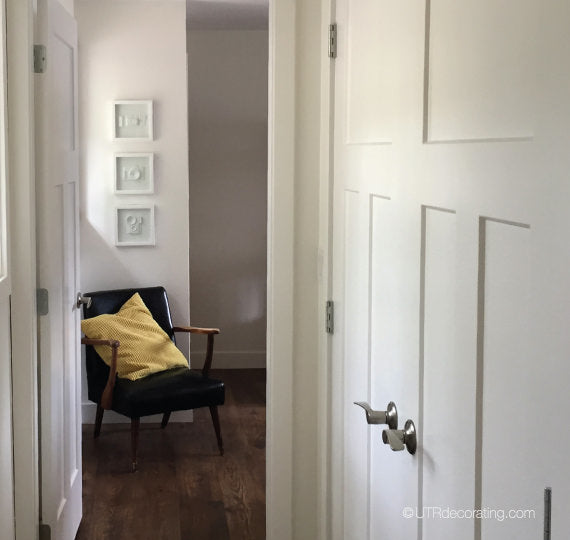
This tall skinny wall in my daughter’s bedroom was begging for attention. The challenge was to find art that would look stylish on such a narrow wall and that would also look good when viewed from the hallway next to it.
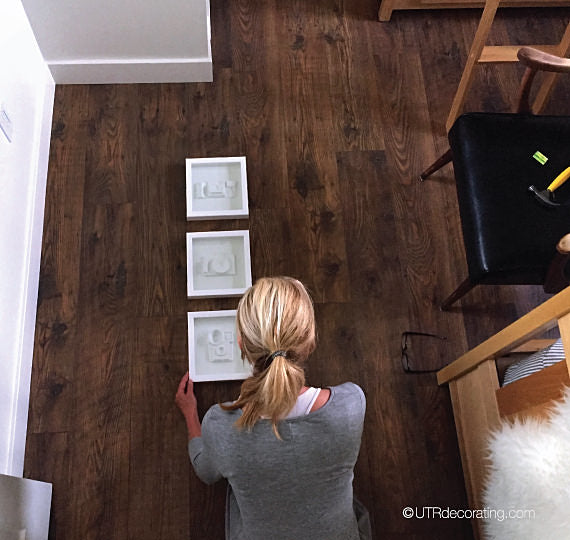
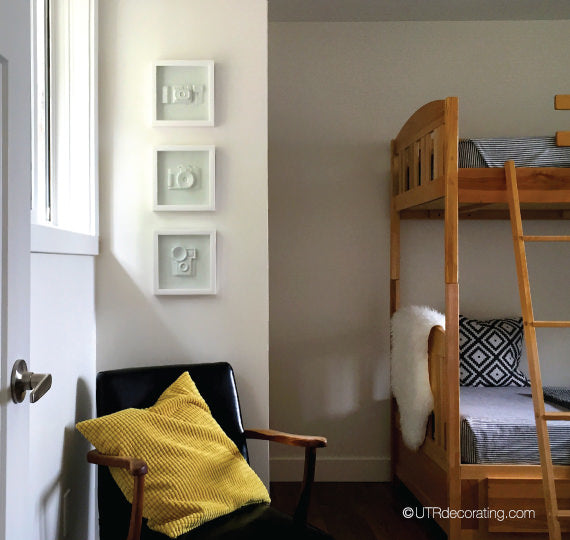
On a recent trip to Lowe’s, this set of three white camera shadow boxes caught my eye. I liked their vintage look, neutral color and the affordable price. Since they were identical in size I thought they would look elegant if I hung them vertically – so I bought them. Once home, I laid the shadow boxes on the floor next to the wall where I was about to hang them to determine the order in which to display each one.
Here’s how I hung each frame and the tools I used:
- Hang and Level – makes it a snap to hang things up
- Déco Hammer – perfect for small jobs, reduces any chances of hitting fingers
- Picture hanging Nails – designed specifically to hang pictures
- Small level – super handy to ensure all frames are hung super straight
- Anchor Points – to keep art hanging straight forever
- Step stool – always good to have one handy
- Painter’s tape – to keep identical spacing between frames
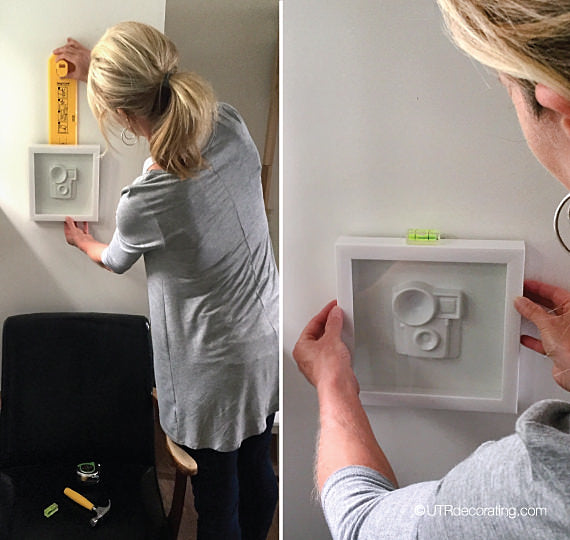
Using Hang & Level, hang the bottom frame first and center it on the wall. You can eyeball this part or use a measuring tape to make sure there’s equal amount of wall space on either side of the frame. I hung the first frame approximately ten inches away from the back of the chair, enough space to avoid having anyone hit their head on the frames when sitting.
Once you have the right spot, hang your item and level it using Hang & Level. I placed Anchor Points on the bottom back corners of the shadow box to keep it from moving when I hammered in the nails for the other frames. It’s a good idea to stick Anchor Points to all the frames to keep them perfectly straight, even when doors are slammed shut, whether by the wind or by energetic toddlers or teenagers.
Next, hang the middle frame and line it up with the one already on the wall. I left two inches between the frames, enough space to achieve a desirable height.
Tip: I cut a piece of painter’s tape the same size as the space left between the two bottom pictures to ensure the spacing was equal between all frames.
Line up the third frame with the middle one, hang it and level it. Don’t hesitate to hop on a chair or a step stool like I did to hang the last frame. Remove the tape and you’re done!
Buying the white frames was definitely a good choice – they fill the skinny wall space perfectly, and they’re subtle enough that they don’t overwhelm the all-white bedroom. The most important part is that my daughter loves the look and I’m thrilled that I pulled off this fashionable display for less than $50.
Styling tip: I used a bright yellow cushion on the black chair and a yellow throw draped over the bed in my other daughter’s bedroom to tie the two rooms together.
Do you have any fashionable home décor finds or art from big box stores?

Liette Tousignant
SHARE:


